![]()
Oak Nut engine.
Commonly called “onut”. Game engine focused on rapid development. Aimed at Game Jams.
Quick javascript sample
Load image and draw a sprite
var texture = getTexture("image.png");

function render() {
    // Begin a batch
    SpriteBatch.begin();

    // Draw a sprite at screen coordinates x=200, y=100 from top left corner.
    SpriteBatch.drawSprite(texture, new Vector2(200, 100));

    // End and flush the batch
    SpriteBatch.end();
}
Update loop
function update(dt) {
    spriteAngle += dt * 45; // Will rotate 45 degree per second
}

function render() {
    ...

    // Draw a sprite at with an animated angle
    SpriteBatch.drawSprite(texture, new Vector2(200, 100), Color.WHITE, spriteAngle);

    ...
}
See onut/samplesJS/ folders for more detailed samples.
Overview
List of projects using it:
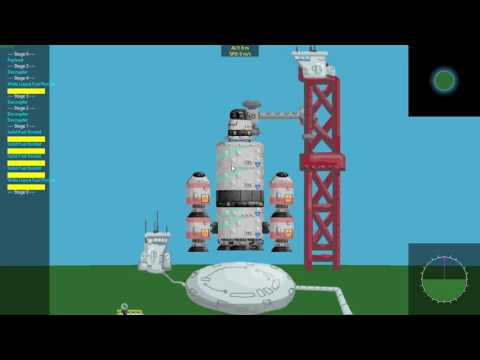
- Global Game Jam 2020 - Arctic Distress

- Global Game Jam 2020 - Click to Repair
- Global Game Jam 2019 - Eagle’s Nest
- Global Game Jam 2018 - Messenger Hacker
-
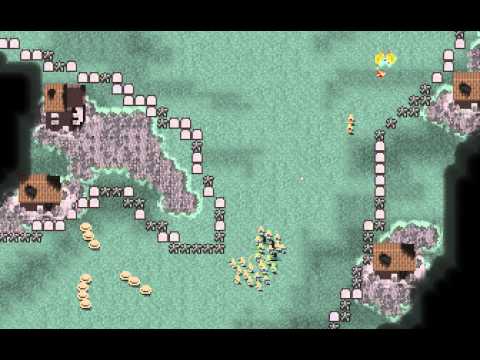
Ottawa Game Jam 2017 - Sheep Dog Heroes
-
Linux Game Jam 2017 - Retro Game War
- Ottawa Game Jam 2016 - Spy Satellite Showdown
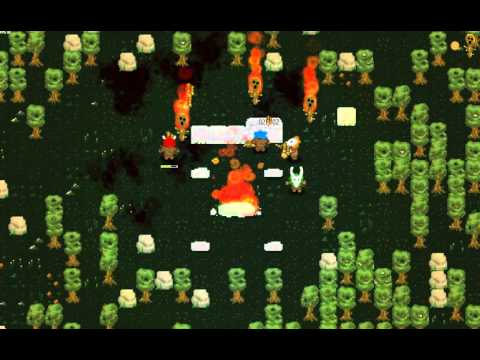
- Global Game Jam 2016 - Fire Whisperers
- Ottawa Game Jam 2015 - Cannon Fodder Commander
Release history
- Onut 4.0 - The 3D release - TBD
- Onut 3.0 - The JavaScript release - Jul 14, 2017
- Onut 2.0 - The Cleanup release - Apr 3, 2016
- Onut 1.0 - Feb 6, 2016
JavaScript Game
Compile the executable
- Clone onut somewhere on your PC.
- Generate using cmake.
- Build the JSStandAlone project in release.
- Copy the executable to your game’s folder.
Setting up your JavaScript project
Recommended to use Visual Studio Code.
- Create a folder for your game somehere on your PC
- Copy
[onut path]/jsconfig.json,[onut path]/typings/onut.d.tsto YourGame path. - Create a
settings.txtfile. Refer to samples to see what can be put in there. - Create assets and javascript files
main.jswill always be the last JavaScript file executed, use it to initialize stuff.
main.js
function update(dt) {
    // Update your game here
}

function render() {
}
C++ game
Recommended folder structure
Before you start. Please take note of the following folder structure. It is highly recommended for minimal setup time.
The default asset search paths are configured for this structure. But it easy to add more using oContentManager->addSearchPath.
YourGame\assets\Put game assets in here- …
src\Your game source code (.h and .cpp)- .. projects files or your CMakeLists.txt
main.cpp
Make sure to define those 6 functions. Otherwise you will get unresolved errors.
void initSettings()
{
    // Set Default game settings can be set using oSettings.
}

void init()
{
    // Load your content.
}

void shutdown()
{
    // Cleanup.
}

void update()
{
    // Game logic.
}

void render()
{
    // Game render.
}

void postRender()
{
    // Render more stuff after post process.
}

void renderUI()
{
    // Draw imgui debug UI.
}
Look at samples to see what can be done here.
Specific usages
SpriteAnim
Sprite anims can be edited in Aseprite and exported as json. Certain flags can be set on frame’s properties. Properties are colon “:” separated.
i.e.: “loop:genfliph:next=idle”
![]()
Frame properties and their meaning:
| name | usage | scope | meaning |
|---|---|---|---|
| loop | loop |
tag | animation will be looped |
| genfliph | genfliph |
tag | an extra animation will be created with the name tag+”_fliph”, flipped horitontally |
| genflipv | genflipv |
tag | an extra animation will be created with the name tag+”_fliph”, flipped vertically |
| next | next=tagName |
tag | when this animation is finished, it will trigger tagName |
| origin | origin=x,y |
frame | set frame origin. This will apply to subsequent frames until the next origin. |
| sound | sound=step.wav |
frame | plays a sound on this frame |
| soundcue | soundcue=step.cue |
frame | plays a sound cue on this frame |
| vol | vol=0.5 |
frame | set volume for sound [0, 1]. |
| pan | pan=0.0 |
frame | set panning for sound [-1, 1]. |
| pitch | pitch=2.0 |
frame | set pitch for sound. |
| tags | tags=tag1,tag2 |
frame | Custom tags on this frame |
When exporting the sprite sheet in json format, make sure to change “Hash” to “Array”.
Mentions
Logo design by Pixilabs Software Inc.